How many times have you been driving and your “check engine” light comes on? If you’re like most people, you probably ignore it and hope that it goes away.
But what if it doesn’t? What if the light is a sign that something is wrong with your car and needs to be fixed?
This is where an obd2 scanner comes in handy. An obd2 scanner allows you to connect to your car’s computer system and diagnose any problems that may be happening. So how does this work, and how do you use an obd2 scanner? Keep reading to find out!
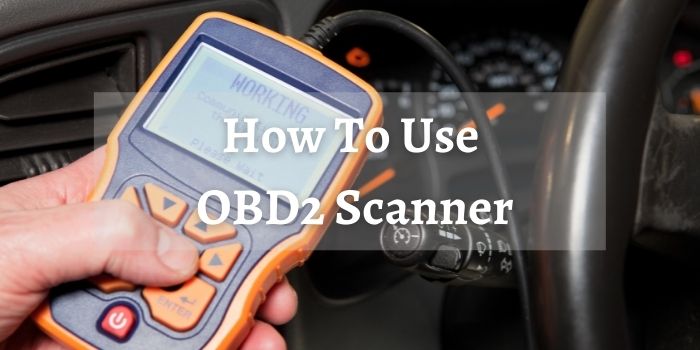
How To Use OBD2 Scanner
With the help of an obd2 scanner, you can access all sorts of information about your vehicle. In this section, we’ll explain how to use it.
Step 1: Find the Diagnostic Link Connector
The first step in troubleshooting a car’s engine is to locate the diagnostic link connector (DLC). The DLC is usually located under the dash, near the steering column. In some cars, it may be located in the engine compartment. Once the DLC is located, it is important to identify which of the Terminal Pins is used for Ground, which is used for Power, and which is used for the Signal Return.
Step 2: Plug the OBD2 Code Reader Or Scanner Into The DLC Port
Once you’ve located the DLC, simply connect the OBD2 code reader or scanner to the port and turn on the device. You should see a message indicating that the connection has been established. At this point, you’re ready to start to diagnose any trouble codes that may be present in your vehicle’s computer system.
Step 3: Fill in the Required Info On The Scanner Screen
Now that the connection has been made, the OBD2 scanner will request some information from you.
The first thing that you will need is the vehicle identification number, or VIN. This can usually be found on the dashboard, on the driver’s side door, or on your insurance card. Once you have the VIN, you will also need to know the engine and model type. This information can usually be found on the engine itself, or in the owner’s manual. With this information entered into the scanner, you will be able to get the information that you need to troubleshoot any problems with your vehicle.
Step 4: Go to the Scanner Menu to Find the OBD Codes
Next, accessing the scanner menu is essential in order to decipher any OBD codes and understand the status of your car’s systems. This will help you learn how to fix 7e8 engine code.
In general, there are two modes you can use when running a scan: active and pending.
Active mode will show you any reoccurring or current codes, while pending mode will tell you if there are any issues that may affect your car’s performance in the future.
By paying careful attention to both of these modes, you can stay on top of any potential problems and prevent them from developing into bigger issues down the line.
Step 5: Get A Good Understanding of The OBD Codes
It is essential to identify and understand the OBD codes that correspond to that particular error. P codes are generally related to issues with your car’s powertrain, such as engine performance problems or issues with gear shifting. B codes typically correspond to problems with the body of your vehicle, such as unusual sounds or smells coming from the interior.
C codes are associated with chassis problems, like trouble with your suspension system or steering. And finally, U codes refer to more general issues that do not fall under the P, B, or C categories. The last two digits of the code will provide additional information about its specific meaning. By understanding these different types of OBD codes and their meanings, you can better assess potential issues with your vehicle and take necessary action to address them.
Also, sometimes, you’ll see the 7ea code. But what does code 7ea engine mean? It means that the scanner wants more information from you.
Step 6: Start the Error Code Diagnosis
Once you have identified the issue using your obd2 scanner and moved on to trouble code diagnosis, there are a few key things that you need to focus on. First, you should take care to collect as much diagnostic data as possible. This may involve recording values for multiple parameters during the driving cycle, or capturing screenshots and running other tests to get a clear snapshot of your vehicle’s current condition. Second, it is important to carefully analyze this data to determine what specific problem might be causing your issue.
Step 7: Reset Your Check Engine Light
Once the problem that triggered the warning is resolved, the check engine light should turn off automatically. However, if it doesn’t you can reset the check engine light manually. This will involve going into your vehicle’s menu system and deleting the warning by resetting the check engine light.
Note: Resetting the light will only turn it off temporarily- as soon as the problem is detected again, the light will come back on. The only way to truly fix the problem is to find out what is causing it and then take the appropriate steps to fix it. Otherwise, you’ll just be driving around with a constantly illuminated check engine light.
How To Use A Bluetooth OBD2 Scanner
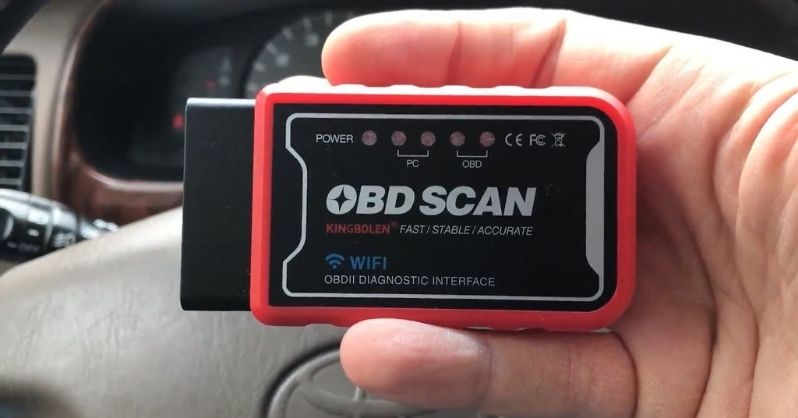
To use a Bluetooth OBD2 scanner, you will first need to plug the scanner into your vehicle’s onboard diagnostic port. This can usually be found under the dashboard or on the driver’s side of your car.
Once plugged in, you will then need to turn on your engine and ensure that Bluetooth is enabled on your mobile device. Finally, you can open up an appropriate mobile app and pair your device with the scanner using its built-in Bluetooth capabilities.
With these simple steps, you should now be able to use your Bluetooth OBD2 scan tool and find p1101 chevy cruze possible causes. Also, it will help with effectively diagnosing issues and troubleshooting problems with your vehicle.
What’s The Difference Between An OBD1 And OBD2 Scanner
OBD, or On- Board Diagnostics, is a system that is used to monitor the performance of a car’s engine and other automotive systems. Each iteration of this system represents a significant technological advancement, with OBD1 and OBD2 being the two most common iterations.
While these two systems share many important features in common, there are also a number of differences that can affect their overall performance.
Function
One of the main differences between an OBD1 and OBD2 scanner is the way in which they function. An OBD1 scanner operates by physically connecting to specific sensors around a vehicle’s engine in order to provide information about engine performance.
In contrast, an OBD2 scanner works by communicating wirelessly with the on-board computer system within a car. This means that it can potentially access a wider range of data than an OBD1 scanner.
Versatility
Additionally, since an OBD2 scanner does not require any physical connection to the engine components themselves, it can be used on more types of vehicles, including hybrid and electric cars.
Compatibility
An OBD1 scanner is only compatible with cars that were made in 1995 and before. An OBD2 scanner is able to interface with a car’s computer system regardless of the year it was manufactured as long as it was made after 1996. All cars made after 1996 come standard with an OBD2 port
The big advantage that an OBD2 scanner has over an OBD1 scanner is that it can provide more detailed information about what’s happening inside the car. So if you own a car made after 1996, you’ll need an OBD2 scanner. On the other hand, if you have a classic car from before 1996, then you’ll want to invest in an OBD1 scanner.
Different Types of OBD II Scanners
OBD II scanners come in many different models, and price ranges. Let’s get to know the most common 2 types.
Code Reader
One of the most common types of OBD II scanners is the code reader. This type of scanner is designed to scan the vehicle’s system for any diagnostic trouble codes. These codes indicate potential issues with different aspects of the engine or other components, allowing you to quickly and easily identify any problems that should be addressed by a mechanic.
Scan Tool
It’s more advanced than the code reader and will cost you more as well. The sophisticated scan tools can provide data about live sensor readings, freeze frame data, and more. Some of the scanners allow you to record data and play it back later for analysis. In addition, some OBD II scanners come with multimeters to diagnose engine problems.
These devices measure voltage, current, and resistance, which can be helpful in pinpointing issues with sensors and other electrical components.
Which type of OBD II Scanner Should You Choose?
Ultimately, the type of scanner that you need will depend on the severity of the problem and your budget. For simple issues, an inexpensive code reader should suffice. However, if you’re dealing with a more complex problem, you may need to invest in a more expensive scan tool.
Conclusion
In conclusion, an OBD2 scanner can be a valuable tool for your car. It enables you to troubleshoot and fix problems with your vehicle without having to take it into the shop. By following these simple steps, you can use your scanner to its fullest potential and keep your car running smoothly.
Related Posts:
P0505 Honda Error Code: What Does It Mean?
P0316 Ford f150 Explained: Meaning, Causes, Fixes
P0128 Honda Civic Explained: Meaning, Causes & Solutions
P0411 Volkswagen: What Does It Mean & How You Can Fix It
P0015 Mercedes: What Does It Mean?